B2B Lead Generation Services
Helping technology marketers reach the right buyers, generate demand, and drive pipeline.
Explore All →


Who We Serve
Helping technology marketers connect with the right buyers in competitive markets.
Explore All →


Editor's Note: The following post was authored by Nigel Hickey a vExpert, VCP5-DCV, VCA [DCV | WM | Cloud], Blogger and Infrastructure Administrator.
At one time or another you have likely spent all day building an image for a desktop, laptop, or server just to get it right and include all the latest drivers for your hardware just to have it fail for some odd reason, I know I have. Have you then rebuilt that image again in the same day or week and then tried to deploy it via another method such as USB or CD/DVD just to have it fail also because they couldn't read the media? This happens quite frequently. That's why SmartDeploy is so interesting...
It happened after being frustrated at my archaic imaging application and turning back to my Spiceworks helpdesk to change my mood and work on another project. Ironically an ad was displaying within the Spiceworks application for this awesome new tool called SmartDeploy. Almost immediately I jumped into the download and installation process and began reading through the documentation steps. Within the next two hours I had already set up my system for SmartDeploy and was beginning to build my first image.
SmartDeploy is an imaging tool that separates the drivers from the operating system so that your deployments are much more streamlined and filled with less issues. SmartDeploy moves away from traditional disk imaging or disk cloning to a model where one single image can be deployed to multiple devices so that you’re not holding onto hundreds of different images for each device in your environment. I’ve personally gone from holding 10 different images down to three images for specific builds that I use in the office.
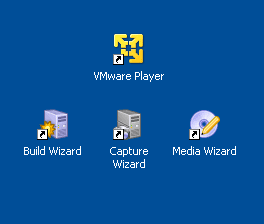
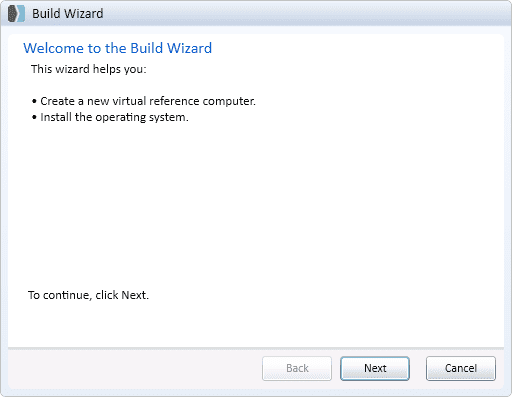
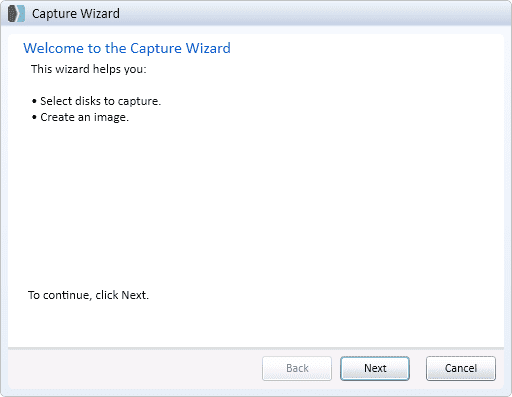
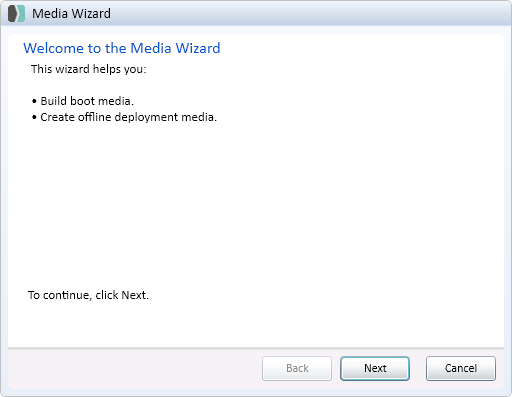
To get rolling you first build your Windows image as a virtual machine using VMware player. SmartDeploy helps you with this process with its Build Wizard. The wizard takes your input for the virtual machine settings (disk size, Windows Key, RAM, etc) and builds up the VMDK file to be played within VMware player. Next, you patch your VM and add applications as needed and then shut down the VM. Lastly, you head on over to SmartDeploy’s website to download a package of drivers based on your machine type which SmartDeploy calls “Platform Packs”. Run the SmartDeploy Capture wizard to capture the VM into a WIM file, and run the SmartDeploy Media wizard to compile all of your work onto a media source for easy deployment.
We're going to jump through the steps on how to set up and deploy a Windows image with a USB flash drive. Have a look at SmartDeploy’s support files for more info.
=
That is basically the last step in creating your image and deployment tools for your device. Now that you have a standardized Windows image it can be partnered with multiple driver packages or Platform Packs to suit your needs for the endpoints you support and your environment.
SmartDeploy will then lay down your image, run Sysprep, and automatically install the device drivers included in the Platform Pack. The target machine will usually reboot a couple of times to complete all of the sis prep and installation procedures and then be ready to go at the CTRL+ALT+DELETE screen within 7-10mins. SmartDeploy says 10mins, I have personally seen my deployments take 5-7mins to complete on both desktops & laptops.
If you would like to learn more about SmartDeploy please make sure you visit their website feel free to reach out on Twitter with any questions: @vCenterNerd.


